How to print and assemble readers
How to print out and assemble classroom readers
Other printing help pages:
How do I print and assemble readers?
1. Regular-sized reader (A4 folded in half).
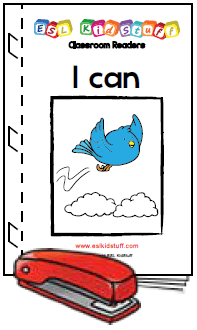
Step 1:
Print out the pages of the reader.
Step 2:
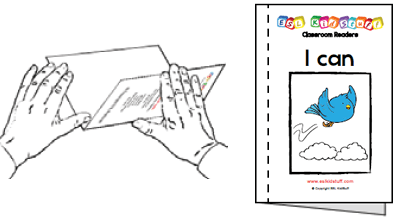
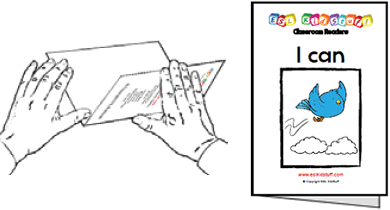
Take the cover page and fold it exactly in half.
Step 3:
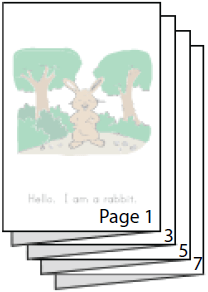
Fold each of the inner pages in half and stack together.
Step 4:
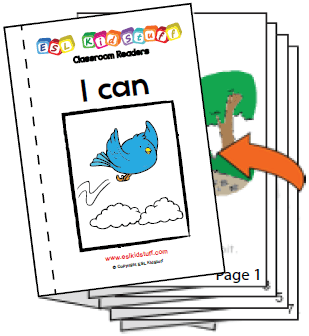
Slide the stack of inner pages inside the cover.
Step 5:
Staple along the spine. Three staples is usually enough.
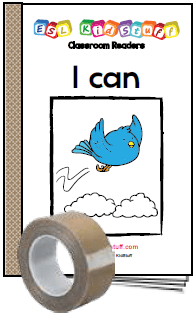
Step 6:
Finally, use some masking tape along the spine of the reader, using the dotted line as a guide.
2. Double-sided reader (A4 folded in half).
Step 1:
Print out the pages of the reader. Print the cover on one side keeping the reverse side blank. Print the inner sheets of the reader on both sides.
Step 2:
Take the cover page and fold it exactly in half.
Step 3:
Fold each of the inner pages in half and place inside each other.
Step 4:
Slide the inner pages inside the cover.
Step 5:
Staple along the spine. Three staples is usually enough.

Step 6:
Finally, use some masking tape along the spine of the reader.
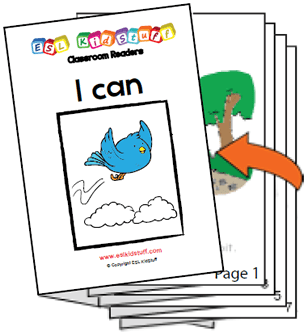
3. Large reader (A4).
Step 1:
Print out the pages of the reader.
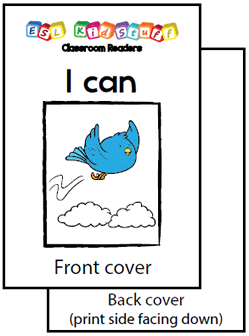
Step 2:
Take the front and back cover pages and arrange with the front cover facing up and the back cover facing down.
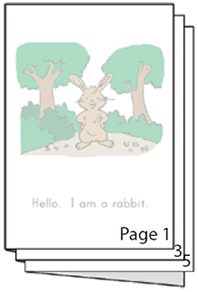
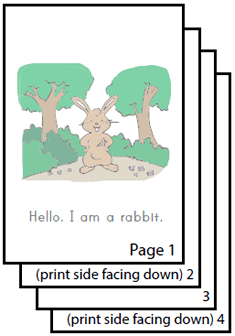
Step 3:
Take all of the pages and stack in order with the blank sides together (so page 1 is face up, page 2 face down, etc.).
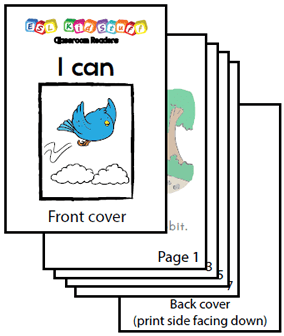
Step 4:
Now assemble the book – add the front and back cover pages.
Step 5:
Staple along the spine. Three staples is usually enough.
Step 6:
Finally, use some masking tape along the spine of the reader.
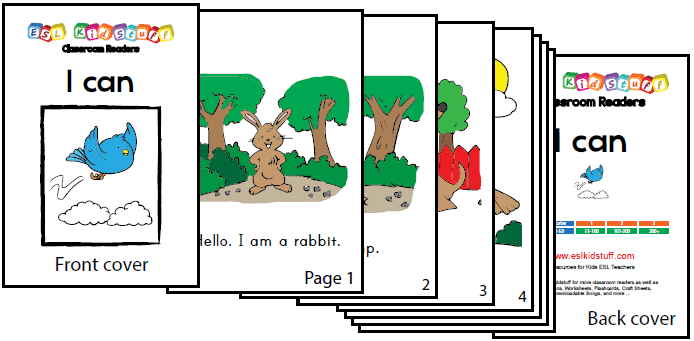
4. Story boards (A4).
Instead of constructing a book you can simply print each page of the reader onto card. Then, simply hold up each card as you tell the story.
Step 1:
Load your printer with A4 size card. Print out the pages of the reader.
Step 2:
Stack the pages in order with the front cover at the front and the back cover at the back.
Step 3:
Hold up each card in turn as your tell the story.